 There are times when I curse the summer heat here, and when it’s 105 F and hotter day after day, I can’t be blamed. But then I remember that hot days do come with certain advantages, like excuses to eat ice cream.
(All links open a new page, so you won’t lose your spot when you look around! Get information on gardening and cultural traditions, recipes, stories, and more!)
Now, you don’t really need an excuse to indulge in a creamy, ice cold bowl of deliciousness, but it does help. Some of my best memories are of hot summers in Greece where the tradition is for families to go out for a late night walk any day of the week. Everyone will be out, from babies to yiayias and papous (grandmas and grandpas). If you just so happen to grab an ice cream from the corner sweet shop along the way, all the better. In fact, I think the warm air and ambiance made the ice cream taste better. It’s the reward for having a slower pace to daily life.
The process of making ice cream also comes with a certain amount of satisfaction, too. It takes time to prepare (though it’s an easy, hands-off kind of time), so it’s definitely not an instant gratification dessert. I think that the build up in anticipation adds more flavor because you know you earned it by having to wait. There’s something to be said about that slower pace of life.
 Why do you have to wait, you might ask? Because you want good ice cream. Not a grainy, grease slick filled with ice crystals. I know there are a lot of recipes that promise a quicker and easier version, but really, this is one of those things where you want to do it right or not at all. Yes, you do.
Some quick notes before you begin:
 This recipe is designed to be churned in an ice cream maker, however if you don’t have one, it will also make great ice cream bars. The steps are in the recipe below. I’m not a fan of “no churn” ice cream recipes because the texture to me is just weirdly dry and greasy. That’s mostly because they aren’t much more than frozen whipped cream, and it’s not as good as it sounds. Ice cream bars made with a regular recipe will be far better.
 You may wonder why an ice cream recipe involves heating ingredients then cooling them down before freezing, but it’s really critical for the best flavor and texture. Heating the dairy and sugar ensures the sugar won’t crystalize and be grainy, and cooking the strawberry mixture reduces the moisture content so chunks of ice don’t form. The end result will be a smooth and creamy treat, with an intensely rich strawberry flavor. So let’s get going!
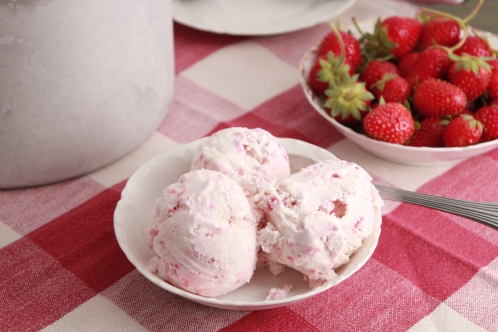
Strawberry & Vanilla Cream Ice Cream Recipe

The quantities below were for a four quart capacity ice cream maker. Scale your quantities to fit whatever amount you wish to make.
Ingredients
For the ice cream base:
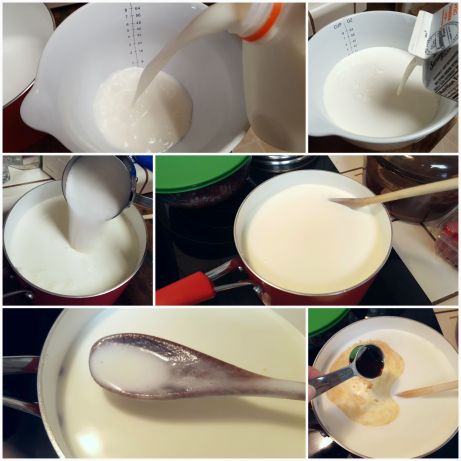
- 4 cups whole milk
- 4 cups heavy (whipping) cream
- 1 3/4 cup granulated sugar
- 1 Tbsp. vanilla extract
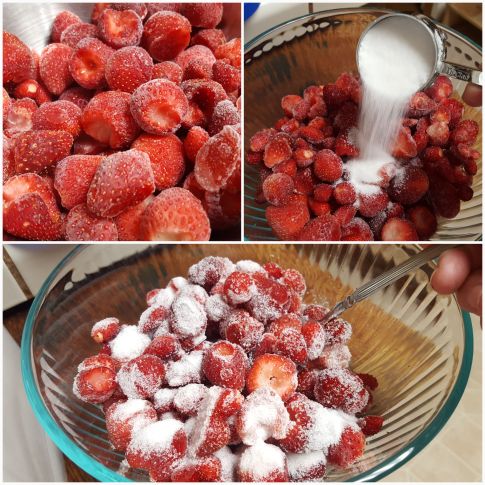
For the strawberry swirl:
- 1 lb. fresh or fresh frozen strawberries (if using frozen, make sure they have no added ingredients; it should also go without saying that good quality strawberries will make a good quality ice cream, but I’ll say it anyway), slice large berries in half
- 1/2 cup granulated sugar
Directions
Put the ingredients for the strawberry swirl in a sauce pot, cover and set aside. Allow them to macerate while you make the ice cream base.
Put all the ingredients for the ice cream base except for the vanilla into a small sauce pot. Heat on medium high, stirring gently but constantly to keep the milk from burning on the bottom. Continue to heat until the sugar is completely dissolved and the milk is foamy on the surface. Do not allow the mixture to boil! Remove from the heat, stir in the vanilla, and cover. Once it has cooled enough, you can either put the pot in the refrigerator or transfer the mixture into a bowl, cover, then refrigerate. Keep in the refrigerator for at least 6 hours.
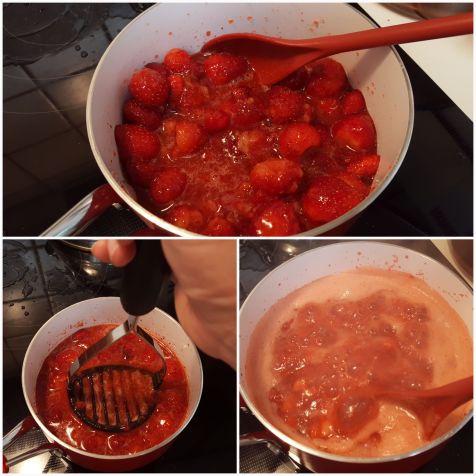
Place the pot of strawberries on the stove. They should have released some liquid by this point. If not, gently mash them a bit with a spoon or potato masher to squeeze out some of the juice. Heat the strawberry mixture over medium-low heat at first, stirring gently but constantly to prevent scorching on the bottom. As the strawberries soften, mash them a little more to break up larger chunks and then bring to a boil. Boil for a couple of minutes, stirring regularly. Remove from heat and allow to cool UNcovered, stirring occassionally, so that steam can escape. Cool for about 20-30 minutes then either cover the pot and place it in the refrigerator, or transfer to a bowl and cover then refrigerate. Keep in the refrigerator for at least 6 hours.
For ice cream bars:
Fill each mold about 2/3 full with the chilled ice cream base. Divide the strawberry mixture evenly into each mold. Swirl the mixture as much as you want using a skewer or butter knife. Insert the handle and freeze until solid. These will be firm bars since they won’t be churned, but super yummy none-the-less!
For churned ice cream:
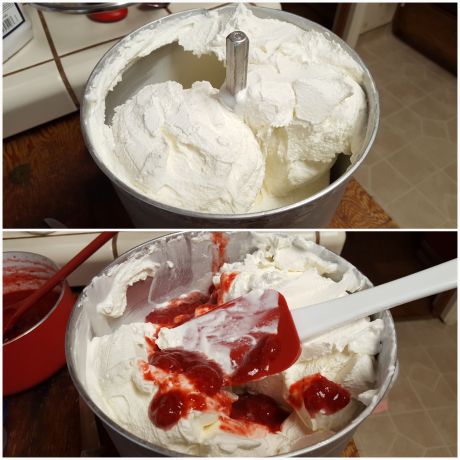
Leave the strawberry mix in the refrigerator until needed. Put the ice cream base into the ice cream maker and follow the manufacturer’s instructions for churning the ice cream. Once the ice cream is finished being churned, swirl in the chilled strawberry mixture. You can do this by:
- spooning out 1/3 of the ice cream mix into a container, then adding half the strawberry mix, then repeat this layer, and finish with the last 1/3 of the ice cream. Use a spoon to quickly swirl through the layers to distribute the strawberry mixture as much as desired. Work quickly to prevent the ice cream from melting, then cover the container and place it in the freezer to further harden.
- adding the strawberry mixture directly to the container from the machine and quickly swirl it around as much as you would like before covering and placing the container in the freezer to further harden.
Once the ice cream has had a chance to firm up it’s ready for enjoying any time of the day or night (or year!) that you would like!

