 Ever since people thought it would be a great idea to move to areas with harsh winters and low food supply, humans have needed to have a way to store their harvest for later use. Preferably unspoiled.
What most methods of food preservation have in common is the removal of water somehow. You take water out of the equation and those little microorganisms can’t survive. They may only want a nibble or two, but we all know that if you let one in they invite their friends over and cause all sorts of trouble. The food gets a little odoriferous and we get a little queasy, or dead, if we eat it.
(All links open a new page, so you won’t lose your spot when you look around! Get information on gardening and cultural traditions, recipes, stories, and more!)
Things like salt and sugar cause a drop in water concentration in comparison to your food and the wee beasties, which draws moisture out and keeps germs from being able to survive. Dried food doesn’t have any moisture for the microorganisms at all, so problem solved there. Even packing food in oil helps, because the oil forms a barrier that keeps air that many beasties also need from getting in contact with the food.
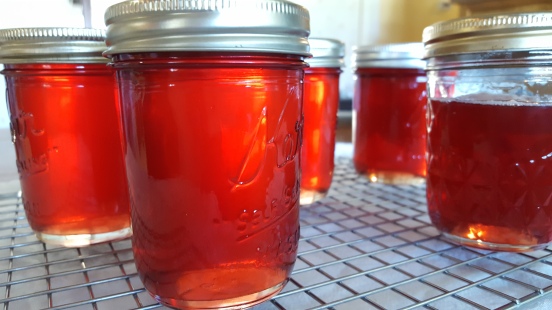 Canned food is relatively new. You may have heard that Louis Pasteur invented the process in the early 1800’s, but not really. He was actually trying to prove where microorganisms come from and designed an experiment based on one done in the 1700’s by an Italian scientist named Lazzarro Spallanzani. Pasteur’s version worked and he then used it as a food preservation method.
Canning doesn’t take away the moisture, but preserves food by a combination of heat to destroy organisms, and closing them up in a way that prevents new ones from getting in. This is why it is so important to have clean equipment and to work quickly so that new germs don’t get a chance to ruin all your hard work. It is also important to have the right equipment to get the job done properly, and without injuries!
Canning Equipment (A brief how-to for canning is below the equipment list)
Jars: Do not reuse jars from food you bought at the store for canning. The lids are not designed for re-use and were meant for industrial standards, not your home. Get proper canning jars, flat lids, and screw rings. These are often easily found in grocery stores, and sometimes hardware stores.
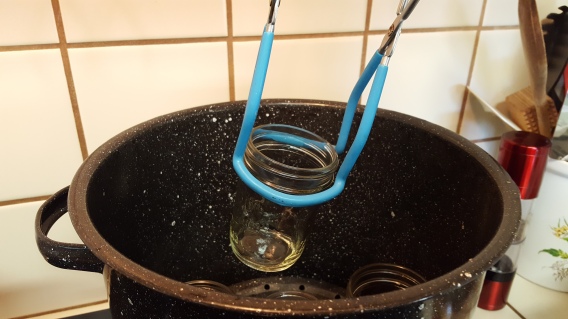 Jar Lifter: Specially designed to grab even heavy quart sized jars out of hot pots. Remember that those lids are metal, and will get very hot. Oven mitts aren’t good enough because you may be lifting jars out of water and you will still get burned.
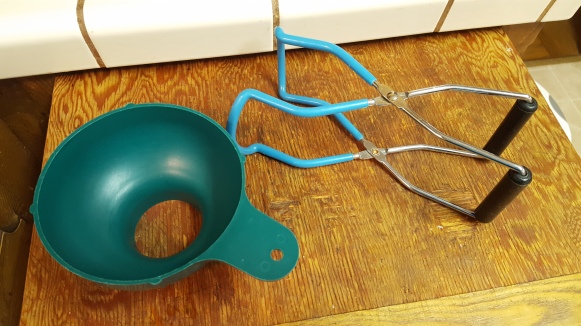 Wide-Mouth Funnel: Allows thick or chunky foods, like tomatoes, to slide right into the jar. I even use it for jellies since it lets food through quickly. Less waiting = less cooling time and less chance for contamination.
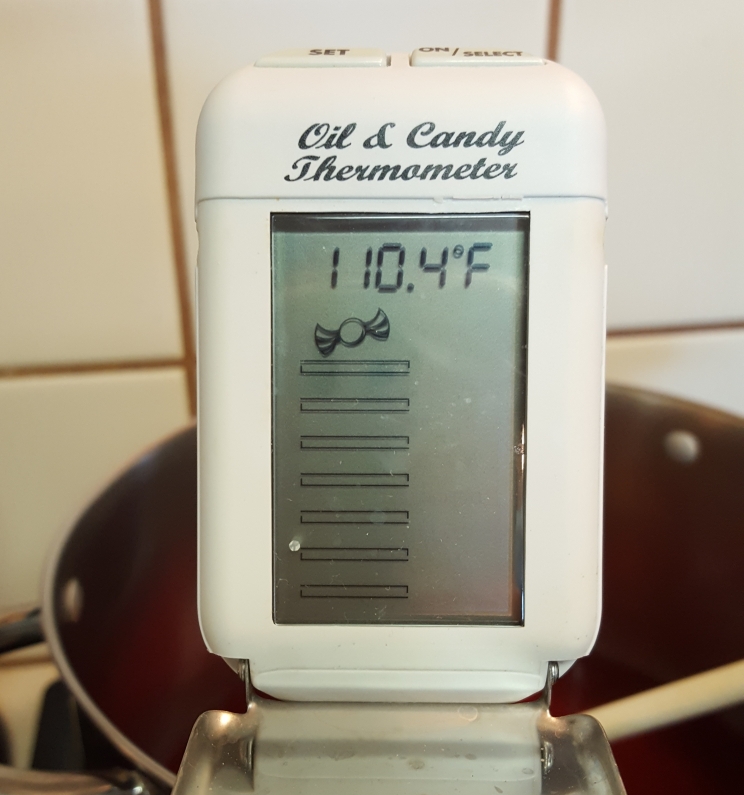
Digital Thermometer: Seriously, it’s the 21st century. You are reading this on a digital format. Why would you use an analog thermometer that’s going to get fogged up by steam and be hard to read? Timing is everything for certain projects like jams and jellies.
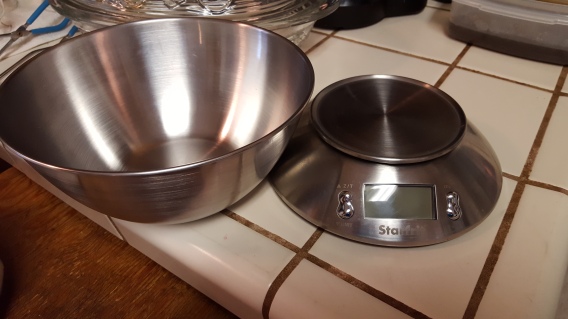
 Digital Scale: See thermometer above. Get one that can convert to metrics (I LOVE the metric system). I like the one I have because the bowl is removable for easy measuring and washing.
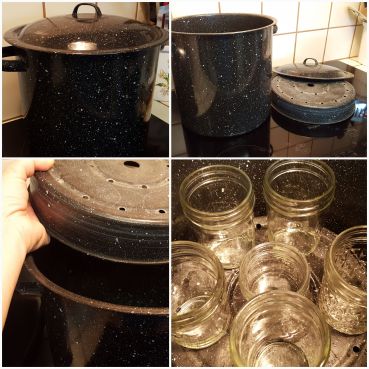
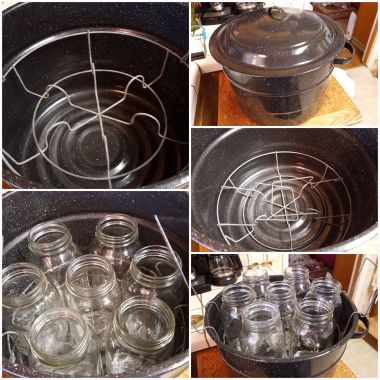
 Canning Pots: These are what you will use to process jars for sterilizing, or to continue cooking the food inside the jars for preservation. The one I use most is actually a tamale pot. I have never used it for making tamales. I put about an inch or two of water in the bottom, put the base in, set my open jars on top of the base, cover with the lid, then bring the water to boiling for several minutes to sterilize them before filling with food. I also have the monster water-bath canner that is specifically designed for the job. It has a rack that lifts out with handles that can be hooked on the edge of the pot. Load your jars, gently lower them, lift them back out. Be mindful to load and remove jars so that the rack is balanced, otherwise you can tip your jars over. Both pots can also be used for water-processing of food, but the big pot holds the big jars best.
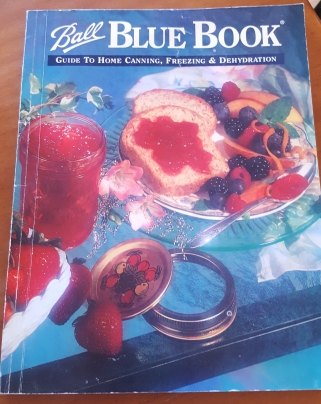
 Canning Guide: The Ball Company has been in the food canning business for a long time. They know a thing or two. Get their book. It’s a great starting place with a lot of tips and recipes. They also have information on steam-pressure canning, which is something I haven’t yet done. (Update: I am now the proud owner of a Presto monster sized pressure canner-cooker and have been eagerly experimenting with canning a variety of low-acid foods. Items like meat, broth, various sauces and soups are all foods that must be pressure canned in order to be safely preserved. Hot water bath canning is an absolute No-No for these types of foods if you want to live. Something you should also note, your typical pressure cooker is not safe for canning. If you wish to pressure can, buy a pot specifically designed for that purpose. It’s also important to follow the manufacturer’s instructions for types of foods, processing times and temperatures.)
Canning Procedures
When I am canning food, it is pretty much the one and only situation where I actually take the time to have everything prepared in advanced. Timing and cleanliness are everything. The last thing you want is to open your cupboard and see an exploded lid and food goo oozing out of your jar. Ask me how I know. The even more last thing you want is to feed something to yourself or your family that went bad without you knowing it. Timing and cleanliness are everything.
- Sterilize all jars before canning. Jars should be cleaned and put into your water-bath pot while still wet to be steamed. Steam gets hotter than boiling water. See the information in the Canning Pots section above. I get my water boiling with the jars in the covered pot before starting my food, then turn the heat down to a simmer to keep them steamed until I am ready to use them.
- Flat lids should be put in a pot of water brought to a boil, then turned down to a simmer until ready for use. Do not boil rings.
- All other equipment should be spotlessly clean.
- Follow all instructions given for processing times.
- Many foods need special canning techniques like pressure-canning. Get a guide book to learn what you need to do for each type of food you want to preserve.
- After jars of food have cooled, remove rings, clean rims, and gently check that the lids have sealed. They should be sucked in and not removed easily. You can put the rings back on.
- Before using any canned food, check to make sure that the lid is still sealed and the top sucked down.
- Discard any food if the lid has become loose, or has any signs of spoilage. This is one time I am a huge advocate of the “when in doubt, throw it out” mantra.


15 thoughts on “Food Canning 101”