 So I may be a little late to this party, but I guess the old saying “better late than never” still holds true. At least it has for me.
(All links open a new page, so you won’t lose your spot when you look around! Get information on gardening and cultural traditions, recipes, stories, and more!)
I’ve had both an electric and a stove top pressure cooker for quite some time now, and I’ve recently added to the collection with a hefty pressure cooker/canner that I’ve had some fun playing with, too. The funny thing is that I don’t do that much cooking with any of them. All these neat looking recipes get forgotten as I tend to stick to more familiar routines.
 It’s not to say that I don’t use these contraptions. I do, but I tend to use them for prepping simple things. They’ve been great for cooking artichokes, extracting juice from fruit for making jelly and syrup, and other single item things. I think the reason I don’t use my pressure cookers for more complex dishes is that I do so much big batch cooking that most pressure cookers just aren’t big enough to handle the load. Oh well.
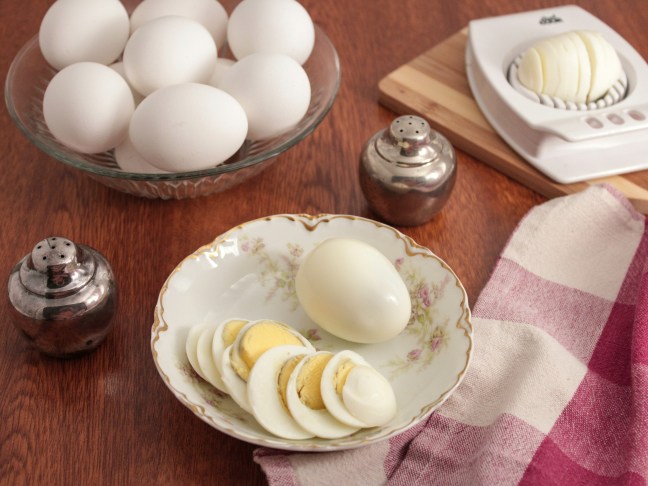
However, I recently found a great use for my electric one, and that’s to make hard-boiled eggs. Even soft boiled eggs can be prepared with the pressure cooker. I knew I had heard about this before, but for whatever reason (stubbornness?? quite possibly) I hadn’t tried it out. My cousin had been telling me how great the eggs turn out and how easily the shells peel off, so finally I gave it a go. I’ve never looked back.

Some quick notes before you begin:
I have a Cuisinart electric pressure cooker that allows for me to select low or high pressure. For this process, you’ll want to be able to select “low pressure”. If you have a different model, check your manufacturer’s instructions to ensure you can prepare your eggs in the same manner as the directions below.
You’ll need a rack that will fit in the bottom of your pressure cooker to set the eggs on. I also set a steamer basket on top of the rack to keep the eggs away from the sides, but this is not necessary.

Be sure to check over your eggs thoroughly for cracks, or any signs of potential cracks in the shells. I use Grade A Large size eggs, smaller eggs will need less time, larger will need more. You will need to eggsperiment (sorry, I had to!) to find out the amount of time you’ll need to get the kind of egg setting you want.
Eggs straight from the fridge are going to be at risk of having the shells crack open due to the sudden temperature change. To avoid this, set your eggs in a bowl full of warm water for about 10 minutes to gently raise the temperature of the eggs first before putting them in the pressure cooker.
The eggs will be hot when they are done. Duh, I know, but did you think about how you’ll get them out of the machine? Ha, not so “duh” after all! I find that silicone tipped tongs are perfect since they are soft and non-slip, and don’t require the burning of fingers to quickly remove hot eggs to the ice bath.
Pressure Cooker 'Boiled' Eggs Recipe
Put 1 cup of water in the bottom of your pressure cooker, then place in the rack, and then the steamer basket (if using). Add in the number of eggs you wish to prepare. I have made up to 18 at a time.
Select the “low pressure” setting and the amount of time you want your eggs to cook for. For a hard boiled egg that has the yolk cooked all the way through, but not grey on the outer edge of the yolk, I find that 8 minutes is perfect. You can even do a soft-boiled egg by setting the time for 2 to 3 minutes. Set the time for about 5 minutes for an egg that is somewhere in between.
Start your pressure cooker according to the manufacturer’s instructions. Once the time is done, do a quick release of pressure. Carefully remove the eggs and place them in an ice bath to stop the cooking process. Once cooled they can be placed in the refrigerator and enjoyed. Don’t forget that egg shells are a great nutrient addition to any garden, especially fruiting plants (tomatoes won’t grow well at all without calcium!), so make sure to save them for your compost and/or plants!

