
Yes, I know. I can buy sour cream at the grocery store. But where’s the fun in that?
(All links open a new page, so you won’t lose your spot when you look around! Get information on gardening and cultural traditions, recipes, stories, and more!)
The internet is a wonderful source of information for my various projects and ideas, but is sadly a wonderful source of really bad information, too. Many recipes for homemade sour cream that I have tried didn’t work. Funny how their pictures look like the stuff you can find at the store, but what was produced was thin goo that didn’t taste good and definitely didn’t have the right texture. Clearly, that’s not what I’m looking for, and I’m sure you aren’t either.
Frequently the recipes aren’t for true sour cream in the first place. They are making soured cream, and I know that may sound the same but it isn’t. These recipes are having you add vinegar or lemon juice to cream as a shortcut to making real, cultured sour cream. It’s like the process for making a buttermilk substitute by adding lemon juice or vinegar to milk. It may act similarly in a recipe, but it won’t have the same flavor or texture.
Another problem is that I don’t have my own cow. I don’t know anyone that has a cow, either. I don’t know of a place that I can find fresh-from-the-cow milk or cream. So, like the vast majority of people, my source of cream needs to be the grocery store. The reason this is an issue with other recipes is that many are based on using fresh and unpasteurized cream and so… their recipes won’t work for most of us.
This recipe does. Why? Because I figured out what the problems were with the others and avoided them. I had truly fresh sour cream that tasted great and had the nice, thick consistency I have come to expect from a good product. I could make the quantities I wanted, and not have to worry about a grocery store visit for just one item (assuming I planned ahead, but that’s another story!). There are a couple of things to be aware of to ensure success, but they are easy and I’ve listed them in the notes below.
Some quick notes before you begin:
Many recipes for sour cream flop because they use the wrong cream to begin with, or don’t specify the proper type of cream to use. It isn’t the additives, it’s the method used to pasteurize the cream. You MUST avoid any cream that was “ultra pasteurized”. The high heat used allows for longer storage life in the refrigerator, but at the expense of the structure of the proteins and fats in the cream. This is why ultra pasteurized cream often has other additives to thicken it and allow it to be used for whipping cream. It won’t work for culturing. I’ve tried. It failed.
The cream you want will be sold as “heavy cream” with a fat content of 35% or higher. It may also be labeled as “heavy whipping cream”. Another suitable type is “whipping cream” which has a slightly lower fat content. If possible, find a cream that does not have additives or thickeners.
Do not use half-and-half. This has a higher amount of milk compared to the cream. The fat content is not high enough and it will not thicken much.
For you to culture cream, you need a starter culture just like in making yogurt. These bacteria convert the sugars in milk to lactic acid, changing the pH of the dairy. This allows the proteins to thicken, which is why acids like vinegar and lemon juice can be used in a pinch to create sour milk or cream for recipes. You can buy a starter culture specifically for sour cream, or you can purchase cultured sour cream from the grocery store (yes I know, you’re buying sour cream to make sour cream, but you have to start somewhere!). Look on the labels and select one that simply says “cultured cream”, preferably without any thickeners.
Other options exist for a starting culture, like yogurt, kefir, and cultured buttermilk. The bacteria used for these will impart a different flavor than traditional sour cream cultures, and may require different means of culturing since the bacteria are temperature sensitive. I haven’t tried them myself, so I don’t have any suggestions on how to use them.
Even though you don’t want ultra pasteurized cream, you need to heat your cream to a high temperature, just not as high as the ultra pasteurization process. The high heat changes the structure of the protein molecules to make it easier for the bacteria to access the milk sugars and thicken the cream. Several recipes I found do not do this step and when I tested them, the cream barely thickened. Even after culturing for several days it was still runny. Heat your cream, get great results.
Each time you make your own sour cream, be sure to set enough aside in a clean container to be a starter for your next batch. As long as the starter doesn’t go bad, it will work. If your starter has been sitting for a while, the number of bacteria living in it will likely drop so you may need to culture your cream for a longer time.
One last thing to be aware of, your cultured sour cream will thicken much more once it is refrigerated. The culturing process needs to occur at room temperature, but the warmer environment will keep the cream loose. Once cooled, it changes considerably.
Homemade Cultured Sour Cream Recipe
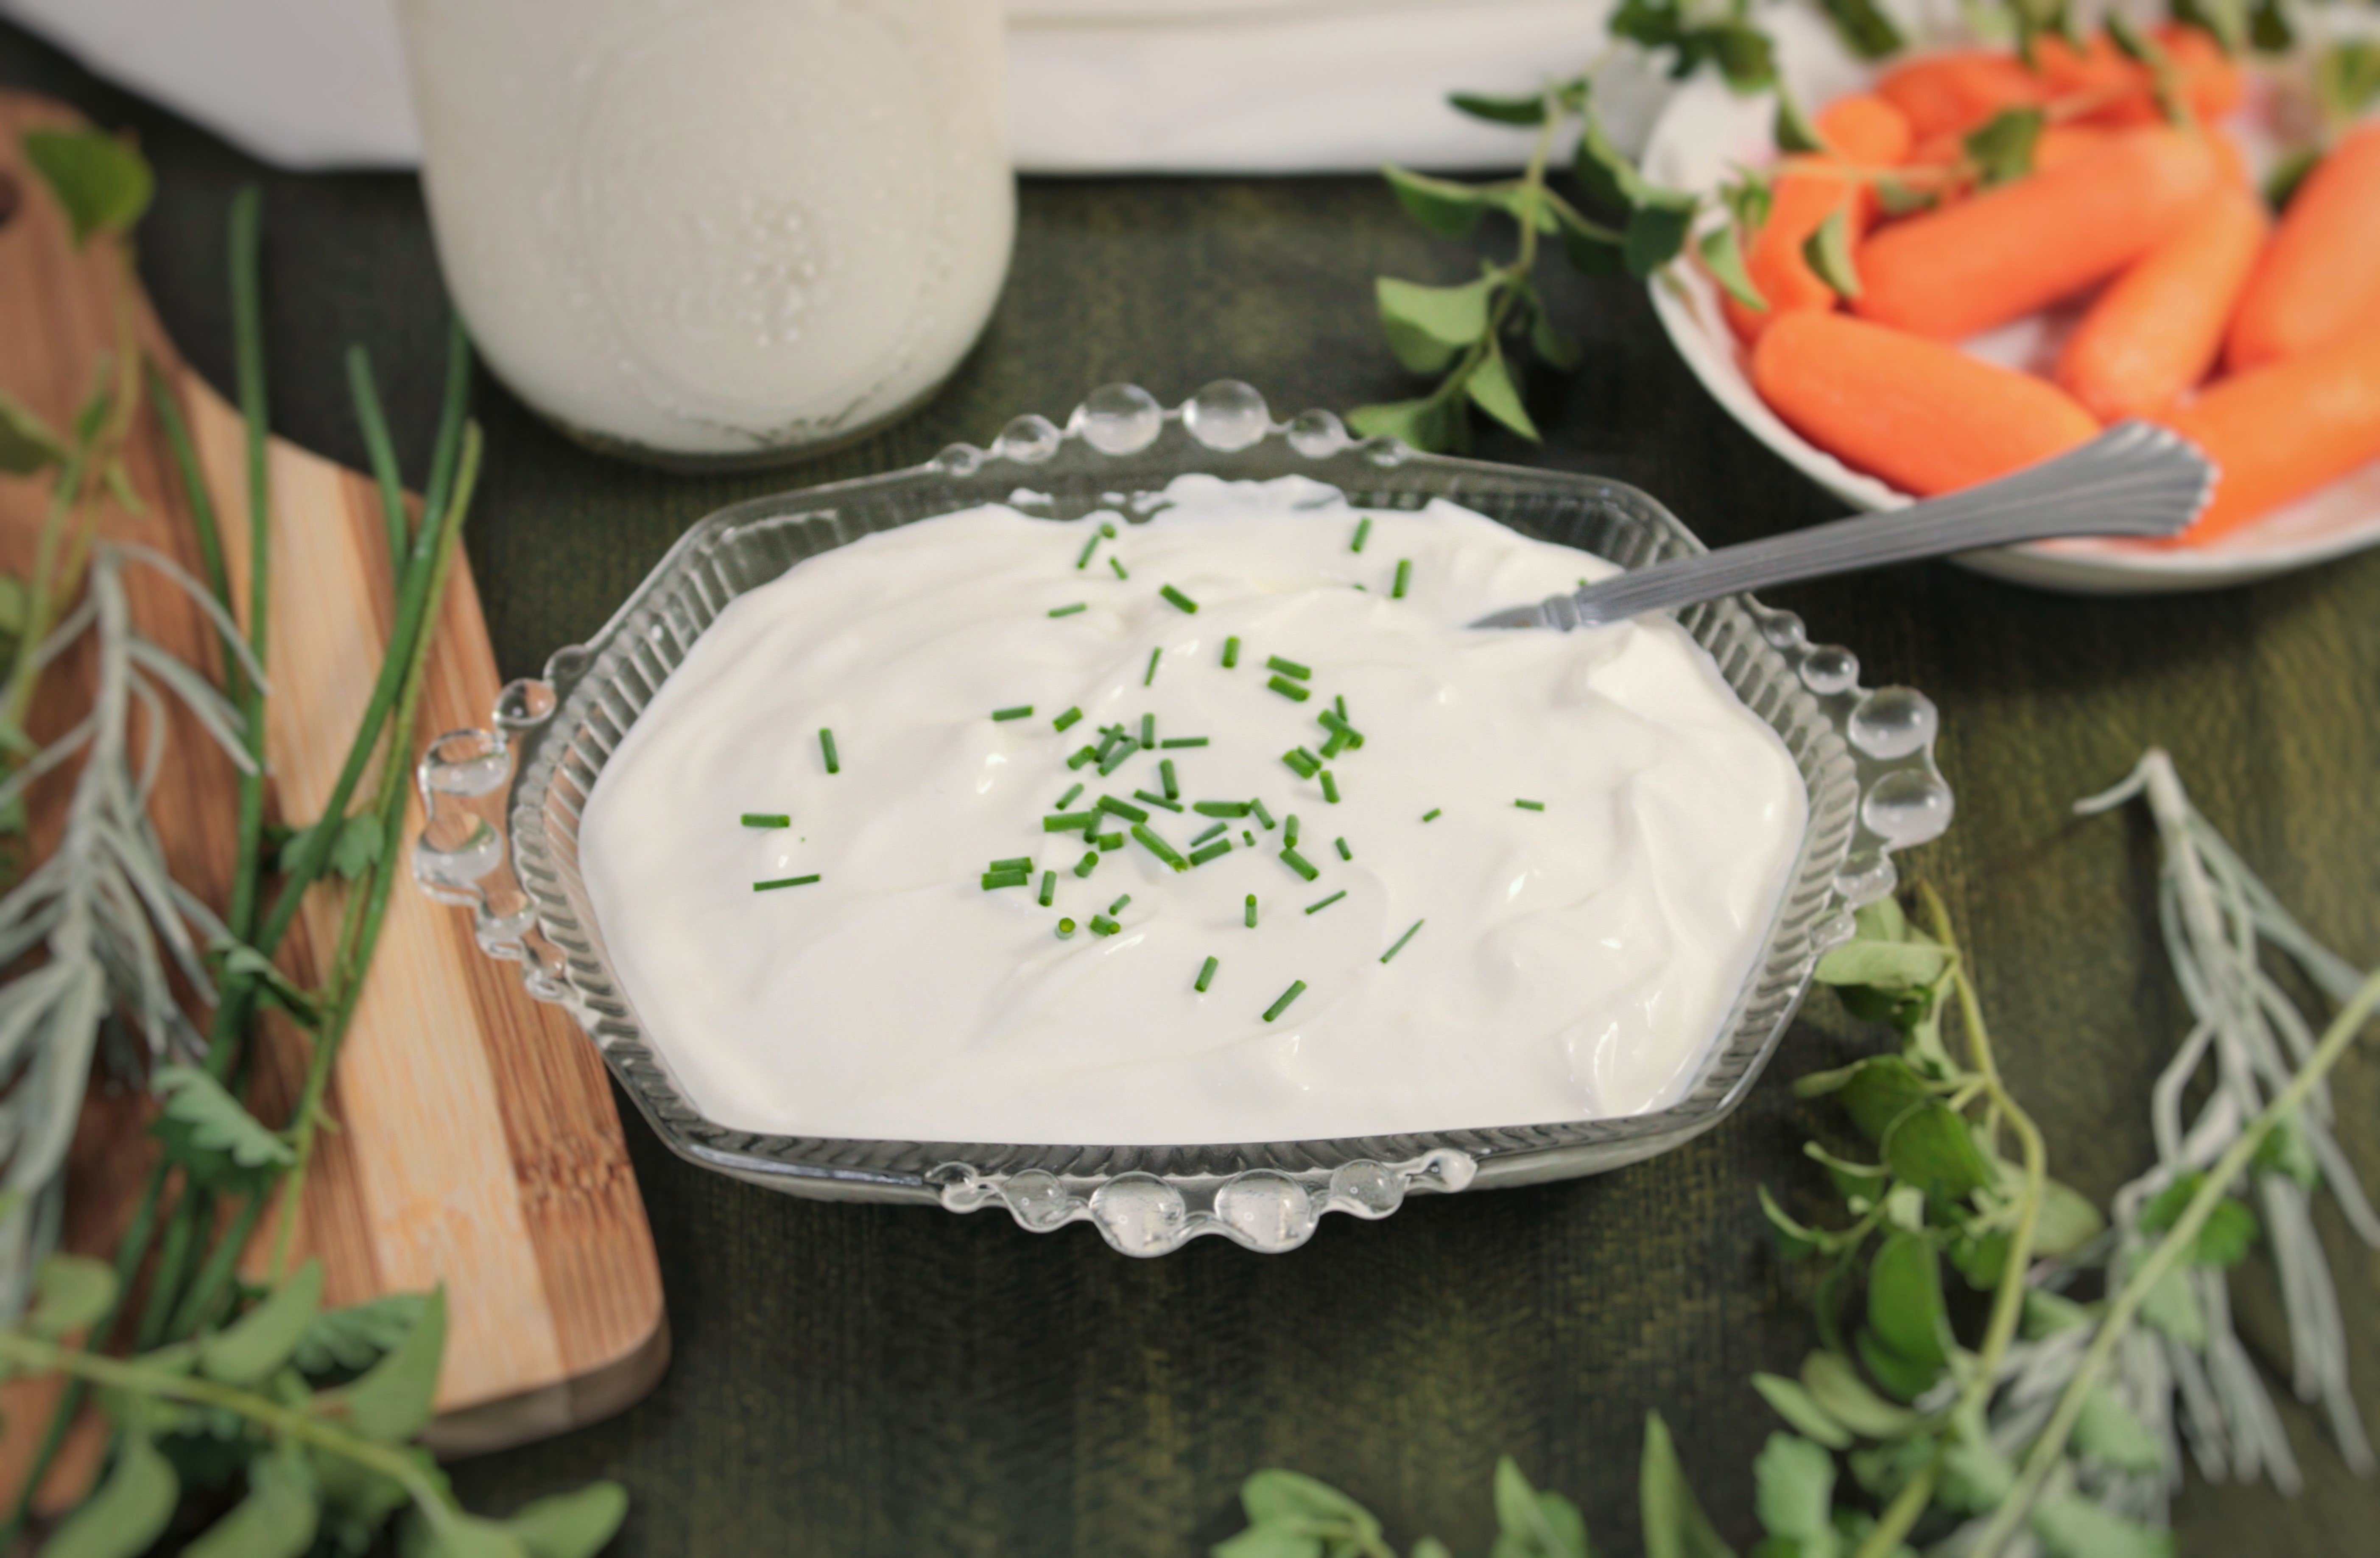
Click the picture above to easily pin this recipe!
Ingredients
For every 1 cup of heavy cream (not ultra pasteurized) you will need:
- 1/4 cup cultured sour cream
Directions
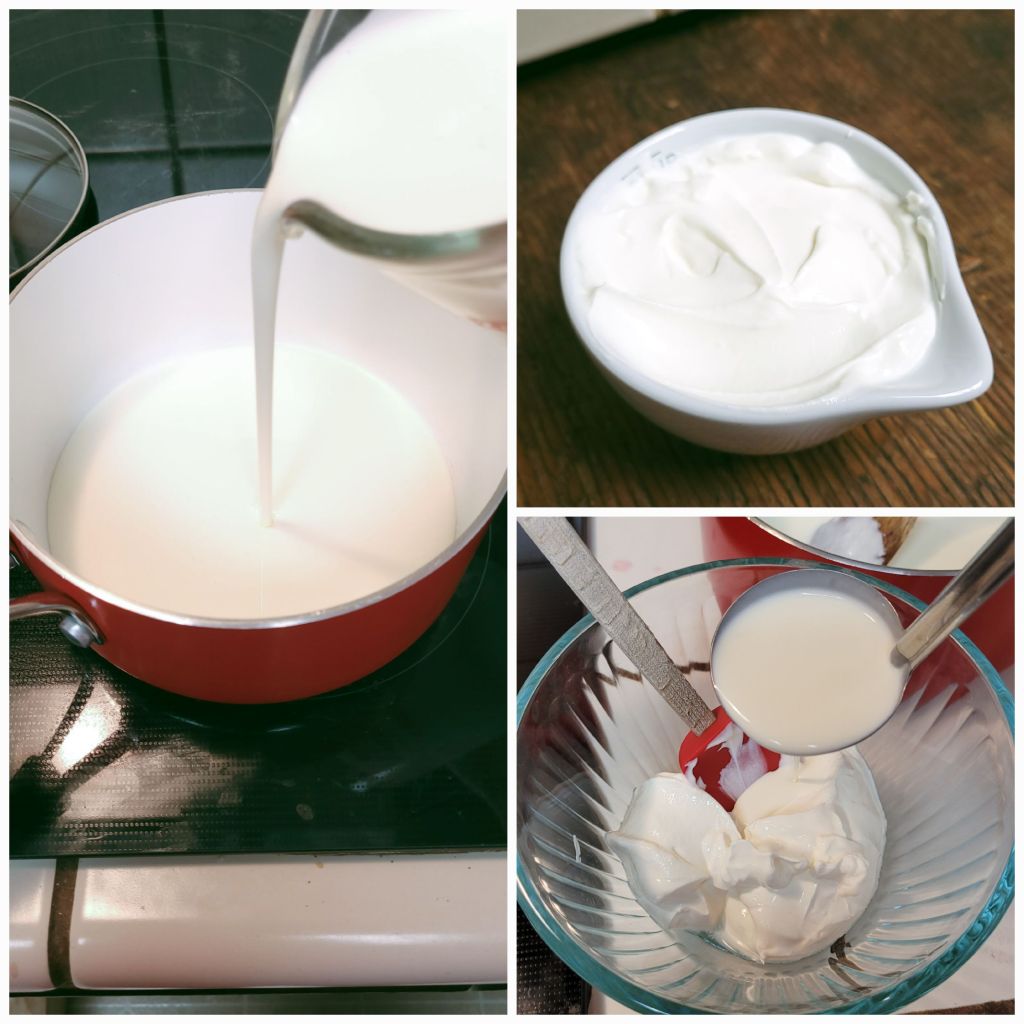
Put the cream in a sauce pot fitted with a thermometer. Set the stove to high and bring the cream to 180 F. You will need to stir constantly to prevent the cream from burning on the bottom of the pot. Remove the pot from the heat, cover, and set aside to allow it to cool to room temperature. Do not refrigerate!
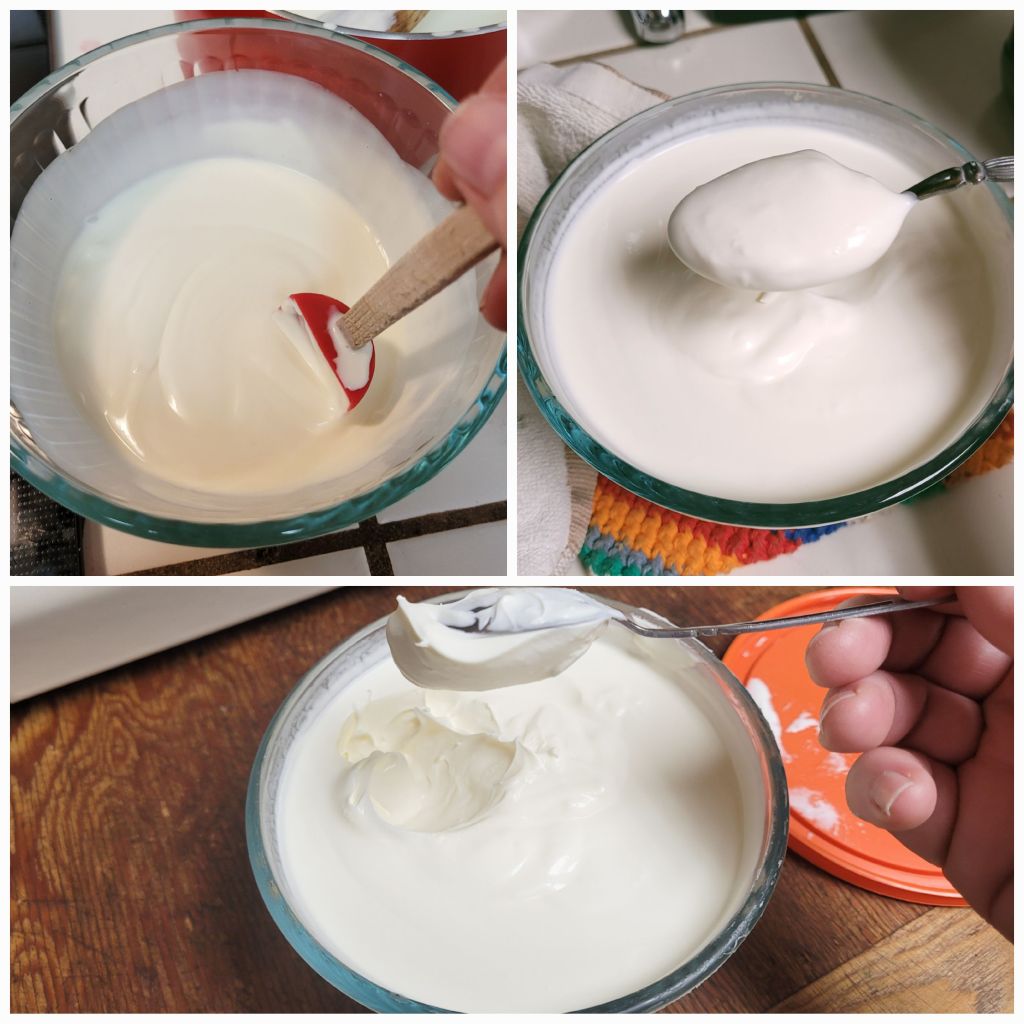
Put the cooled cream in a glass container, like a bowl or jar. Stir in the amount of cultured sour cream needed for the amount of cream you started with and mix until combined. Cover the container and allow to sit at room temperature for at least 12 to 24 hours. The warmer your home is the shorter the time needed. You can check occasionally to see if has reached your desired taste after the first 12 hours. Remember that it will thicken much more once chilled.
Once the cream has soured to your preference, be sure to cover it tightly and place in the refrigerator. Don’t forget to set some aside in a clean container for your next batch! Enjoy!


This is so interesting and I’ll bet the sour cream is amazing.
LikeLiked by 1 person
It really is! There’s just a fresher taste to it.
LikeLike
What is the refrigerated shelf life once made?
LikeLike
It is about the same as commercial brands that don’t have any additives.
LikeLike
Can you freeze a portion then thaw then use to make more sour cream?
LikeLike
I haven’t tried that so I honestly don’t know. My feeling is that freezing will kill the microorganisms that are responsible for culturing the cream.
LikeLike