
Despite the quantity of sugar-filled recipes I have on this blog, my tastebuds are fully addicted to sour and salty flavors. I’d like to believe that this is in direct contrast to my sweet personality. No laughing allowed!
(All links open a new page, so you won’t lose your spot when you look around! Get information on gardening and cultural traditions, recipes, stories, and more!)
Be sure to follow us on social media! You can also click on any picture to save this post to Pinterest!
If I’m given a choice between snacking on a cookie versus a bag of chips, the chips will win hands down. Yes, even if the cookie has chocolate. Shocking, I know. There’s something about the saltiness that I love, but ironically I’m not heavy handed with the salt shaker. Instead I like little bursts of flavor mingled in the food I’m eating. I’m pretty sure that’s a perfect description of both Kalamata olives and capers.

My inspiration for this recipe came from another similarly prepared Greek dish called stifado, which is a stew of chicken and pearl onions that are slowly simmered in a seasoned bath of tomatoes and sauce. In this case, the onions are replaced by flavorful Kalamata olives and pickled capers, both of which add texture as well as taste. There’s still an aromatic bath of tomatoes, but with some slight changes to the seasonings used.
The ultimate prize, aside from the tender chicken, will be all the deliciously rich and seasoned juices that will be made once all is said and done. I have included instructions for cooking that sauce with Greek kritharaki (orzo) pasta, but this is optional. If you decide not to, then be prepared to break out your favorite bread because you’re going to want to catch every last drop. You could even spoon the liquid over pasta or rice (and then wipe up the remnants with that bread), the choice is yours!
Some quick notes before you begin:
I’m a huge fan of chicken thighs and leg quarters, but any type of chicken pieces will do. Whole chicken will need to be cut up, and breast pieces should be cut in half width-wise to make them more manageable and allow it to cook in the same amount of time as other, smaller pieces.
I strongly suggest that whatever pieces you choose, that you get bone-in with the skin still on. The bones will help keep the meat from shredding and falling apart and the skin will ensure that the meat does not get dried out (yes, even when it’s being cooked in a liquid).
Be sure to use a pan that will accomodate all your ingredients without being overly crowded. This will help with proper cooking, as well as make it easier to move pieces around without spilling.
Save any bones afterwards for making homemade bone broth! It’s so easy and adds great flavor to any savory dish you would add water to (like rice, pasta, soups, etc.). If you remove the skins after you cook the dish, throw them in the pot with your bone broth, too. It will add more body to your broth as well as flavor!
If you decide to trim or remove the skin before it is cooked, you could render the fat out and make two treats from one process! The rendered fat can be used anywhere you would add oil or butter in a savory dish for added flavor, and the leftover pieces can be seasoned and eaten like bacon bits. Soooooo good!
Braised Chicken with Kalamata Olives & Capers Recipe

Ingredients
- 4 lbs. chicken pieces, bone-in and skin on
- 1/4 cup olive oil
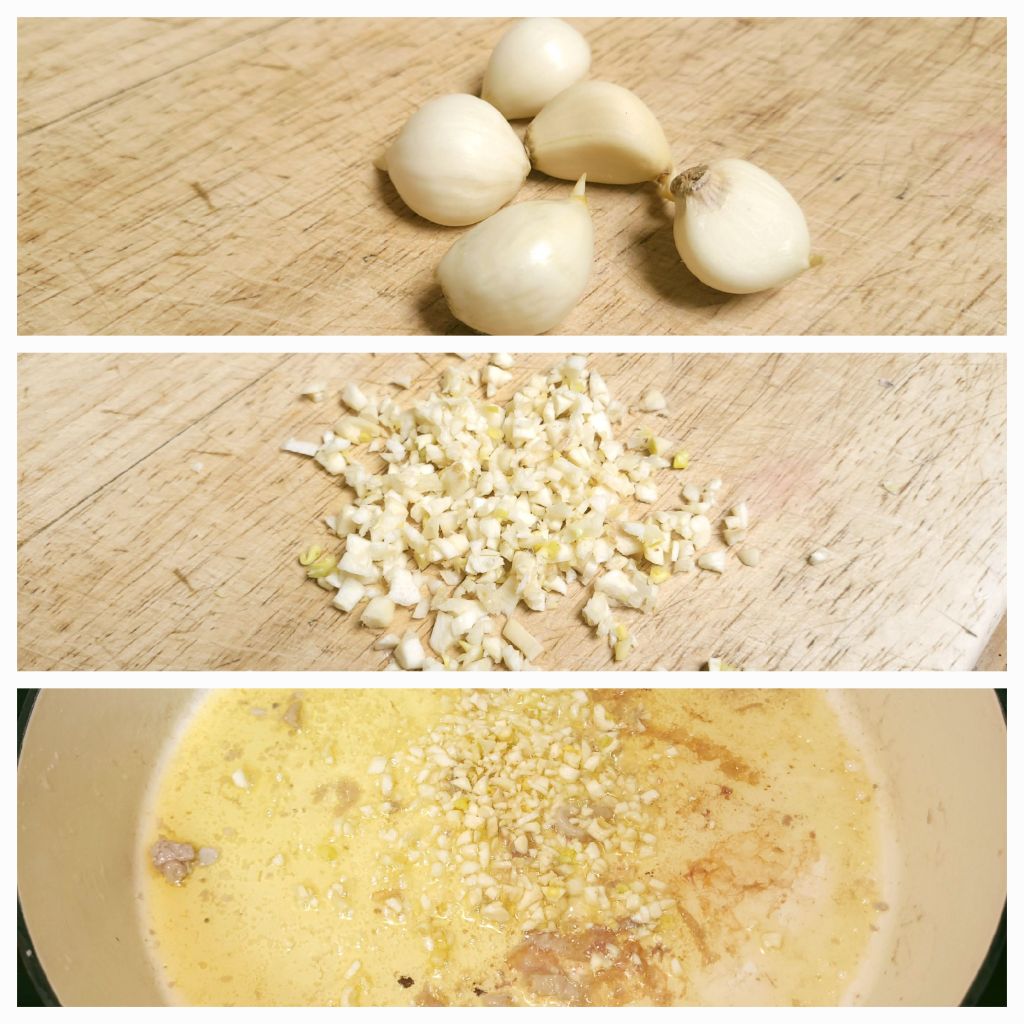
- 4 to 5 cloves of garlic, finely minced
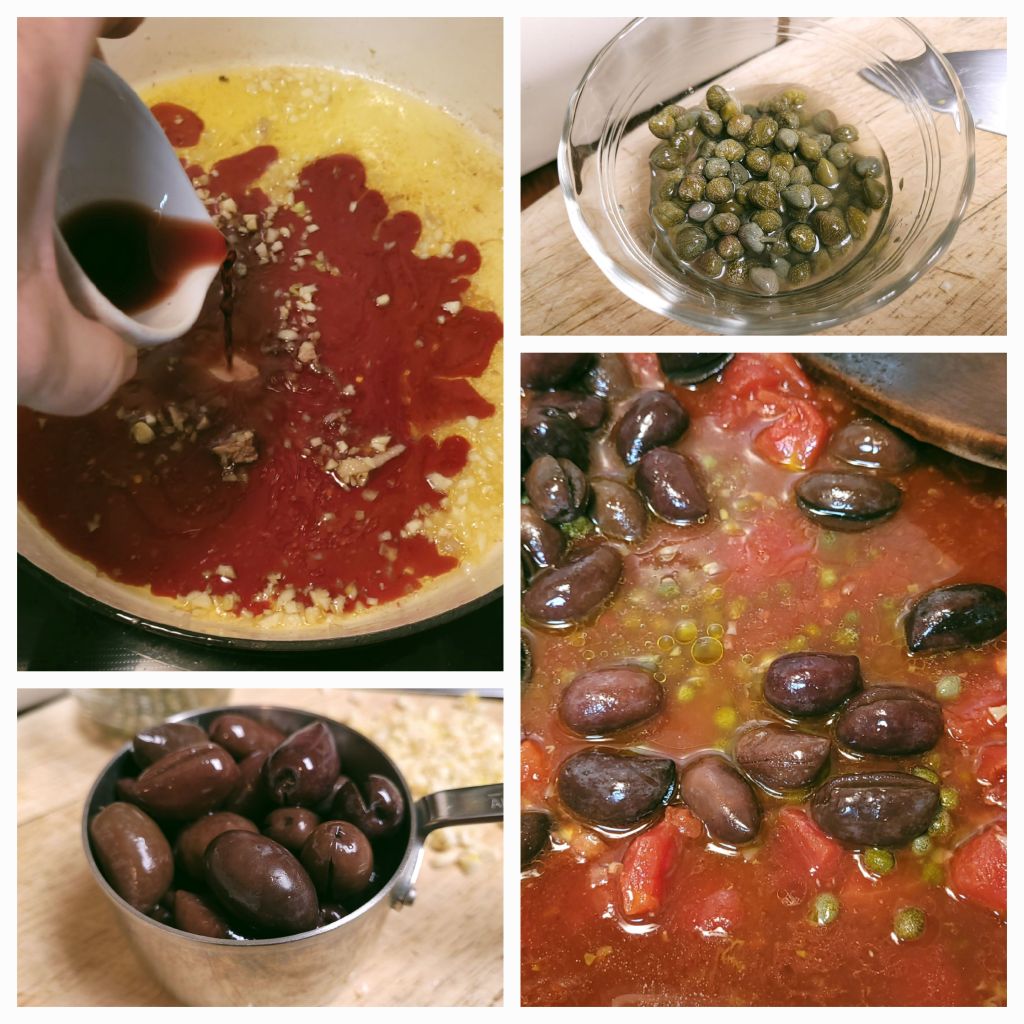
- 1/2 cup red wine (I prefer to use a cheap burgundy)
- 1 15-ounce can diced tomatoes
- 2 Tbsp. capers, drained
- 1 Tbsp. caper brine (the liquid in the jar from the capers)
- 1 cup whole Kalamata olives, pitted optional
- 1 Tbsp. dried oregano, Greek preferred
- salt and pepper to taste
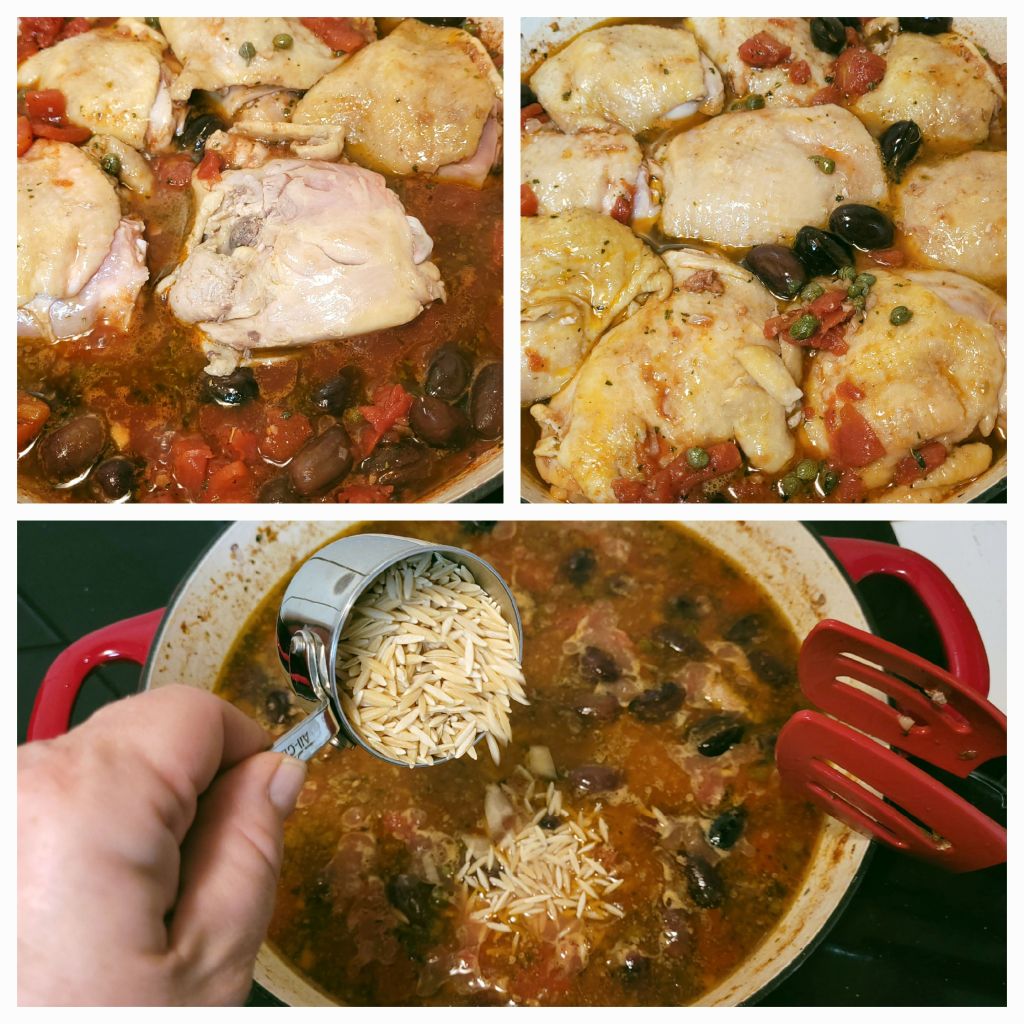
- 1 1/2 cups kritharaki (orzo) pasta, optional
- cooked rice or pasta, optional
Directions
Put the olive oil in a large pan or braiser and set the stove to medium heat. Add the chicken once the oil is hot and brown on all sides. Remove the chicken from the pan and set aside. Be aware that there will be juices that will come out of the chicken and that it won’t be fully cooked.
Increase the heat to high and add the garlic. Saute for just one minute, then add the wine and tomatoes and combine. Add the remaining ingredients, but not the pasta. Bring just to a boil, then reduce the heat to maintain a low simmer.
Add the chicken pieces skin side up and nestle them in among the tomato mixture. Spoon some of the liquid over the chicken. Cover the pan and cook for 10 minutes. Uncover and turn the chicken over, cover, and cook another 10 minutes. Uncover the pan, turn the chicken skin side up again and cook another 10 minutes but uncovered this time.
Check to see if the chicken is done. You can do this by poking a knife into the thickest part to see if the juices come out clear. If they are pink or red, you need to continue to cook until it is clear.
At this point you have options on how to serve this meal:
- You could serve the chicken as-is with some of the sauce laddled over in a bowl, like a stew. A nice chunk of bread would go great with this.
- The sauce could be served over rice or pasta with the chicken on the side. You could also cook the sauce further to thicken it once the chicken is removed. Keep the chicken warm on an oven-safe platter in a 200 F oven while you cook down the sauce.
- The chicken could be put in a single layer on a sheet pan under the broiler for just a few minutes to help crisp up the skin. I would keep it several inches away from the broiler element to avoid burning. The sauce could then be served as-is or thickened and used as described above.
- You could cook the kritharaki pasta in the sauce after removing the chicken (which could be crisped up or just kept warm while the pasta cooks). To cook the pasta, add the pasta to the sauce in the pan and combine. Cook on low heat, covered, stirring every few minutes. If the pasta sticks (and it likely will), remove it from the heat and let sit for a minute then push the pasta off the bottom of the pan with a spatula before returning to the heat. Add water 1/4 cup at a time as needed until the pasta is cooked to your preference. This may take up to 15 minutes. I like to let the pasta sit covered and off the heat for an additional 5 minutes to help absorb more liquid. Serve alongside the chicken topped with grated cheese like parmesan.
However you choose to serve this dish, you’ll have a great meal waiting for you! Enjoy!


Bravo! Very nice.
LikeLiked by 1 person
Thank you!
LikeLike