 I consider myself to be a fairly serious kitchen DIY-er. I enjoy learning about a food’s history and recreating it in my kitchen. But then there’s that whole time thing.
 (All links open a new page, so you won’t lose your spot when you look around! Get information on gardening and cultural traditions, recipes, stories, and more!)
For the most part I plan my projects to occur when I have the time to do them but when it comes to making certain types of traditional foods, it’s not just the time, it’s the ingredients needed. Some things take some serious planning ahead before you even get started on putting the final product together! So what to do when you want something now, but you didn’t plan ahead?
 Depending on the circumstances, you might just be out of luck. Some things aren’t easily found at the local supermarket. But sometimes you can fake your way to a really good end result. Fresh Mizithra is not a common store item, and traditionally it would be made by using sour whey from previous cheese or yogurt making. The acid from the whey is what curdles the milk proteins to separate the solids from the liquids. It’s really easy, but what if you haven’t made cheese or yogurt and just want to go straight to the mizithra? All you need to do is substitute another acid and you’re good to go!
 White vinegar and lemon juice are great acid replacements. I generally use the lemon juice just because the vinegar smell is rather strong. You will need to strain out the lemon juice to remove any pulp so that your cheese doesn’t taste like lemons. It’s not bad, just not what you’re likely looking for. Since these liquids are also much stronger acids than the whey, you also don’t need very much to get a good curdle in your milk.

Ingredients
- 1 gallon milk, a mix of goat/sheep/cow is traditional but use what you have (except ultra heat pasteurized, it won’t curdle)
- 1/2 c. lemon juice, strained
- salt to taste (optional)
Directions
Strain the lemon juice through a fine mesh strainer first, then take the strained liquids and pour it through a fine weave cloth like a muslin tea towel or a few layers of cheese cloth. Moisten the cloth with water first, then ring it out before using as this will keep it from absorbing your lemon juice. Doing this in two stages actually helps it to strain faster than trying to use the cloth only. Set your strained lemon juice aside.
In a large pot, heat your milk on the stove at medium high heat until the top is foamy but not quite to a boil (Update: I have found that getting the milk to 180 F leads to good curd formation). Turn the heat down to medium-low at this point but keep stirring gently. Add the strained lemon juice and stir it in. Continue to gently stir until the milk is completely curdled and the liquid portion is no longer white, but more clear and yellow in color. Once it reaches this point, remove it from the stove top. (Another update: if your milk doesn’t curdle all the way, your lemon juice may not be strong enough of an acid. Just simply add a little more, 1 tsp. at a time, stirring at least a minute before adding more. Once the whey is clear and yellow, you are done.)
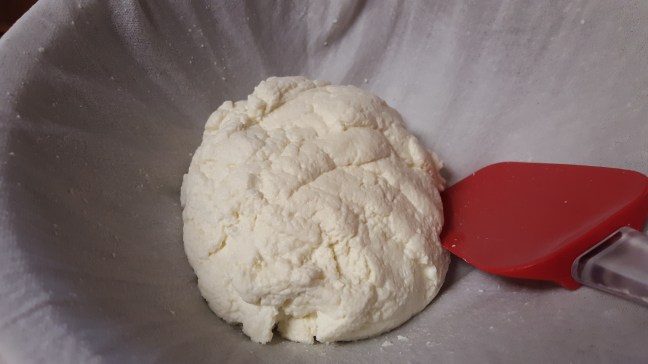
Line a strainer or colander with a clean tea towel or muslin cloth, and set it over a large bowl. Carefully pour the liquid from the pot into the strainer to filter out the whey. Use a spatula to scrape the milk solids from the sides of the cloth to keep the liquid moving through. Once all the liquid has drained through, if you want your cheese salted, which it will need to be if you want to dry it, you will add it now and gently mix it into the cheese curds. The whey you strain out can be used to make more cheese (following the traditional method), or used as a great soil-acidifier for acid loving plants like blueberries, hydrangeas, gardenias, etc., so don’t just dump it! Even other plants will appreciate the nutrient boost. Just be sure to let it cool first!
At this point, gather up the corners of the cloth and tie them together. I like to stick a long-handled spoon through the knot and suspend the cheese in something tall like a juice pitcher to allow the cheese to dry a little more. How much you want to let it dry is up to you. Overnight is enough to get it to cream cheese thickness. It will take several days to get it to a point where it is dry enough to grate it like parmesan. FINALLY!! If you want to dry your mizithra, I have the simple and tested instructions ready to go. Just click the link here! If you want it that dry, remove it from the cloth after 24 hours and place it into a fresh, dry cloth, rub salt all around the cheese ball, and re-hang it someplace cool (but not the refrigerator) where it will not be disturbed. Update: I’m working on a more specific set of instructions for drying mizithra to ensure consistent success… something I’m sure you’d like! It will take a while, but I’ll keep you all posted when it’s ready! In the meantime, you’ll have really tasty soft mizithra! Enjoy!


3 thoughts on “Quick & Easy Mizithra (Greek Ricotta)”